Building a DIY Vacuum Former
I've wanted a vacuum former forever. I finally have a need for one: Omniibot domes!The plan is to make domes for the 5402, Robie Sr, and Hearoid. I could tint them in custom colors even!
And of course I have to make it myself with half baked ideas..
The plan
I’ve wanted a vacuum former in the NerdRoom for a while. It’s one of those tools that seems specialized until you start thinking about all the things you can make with it: robot shells, electronics enclosures, covers, molds, and one-off plastic parts.
The plan was to make a compact vacuum former from common materials, keep the design simple, and end up with something that would be useful for future robot and electronics projects.
The Basic Idea
Vacuum forming is pretty simple in principle. A sheet of plastic is heated until it softens, then pulled down over a form using vacuum.
Plastic sheet
     ↓
Heat
     ↓
Soft plastic
     ↓
Form / mold
     ↓
Vacuum pulls plastic tight
Building the Frame
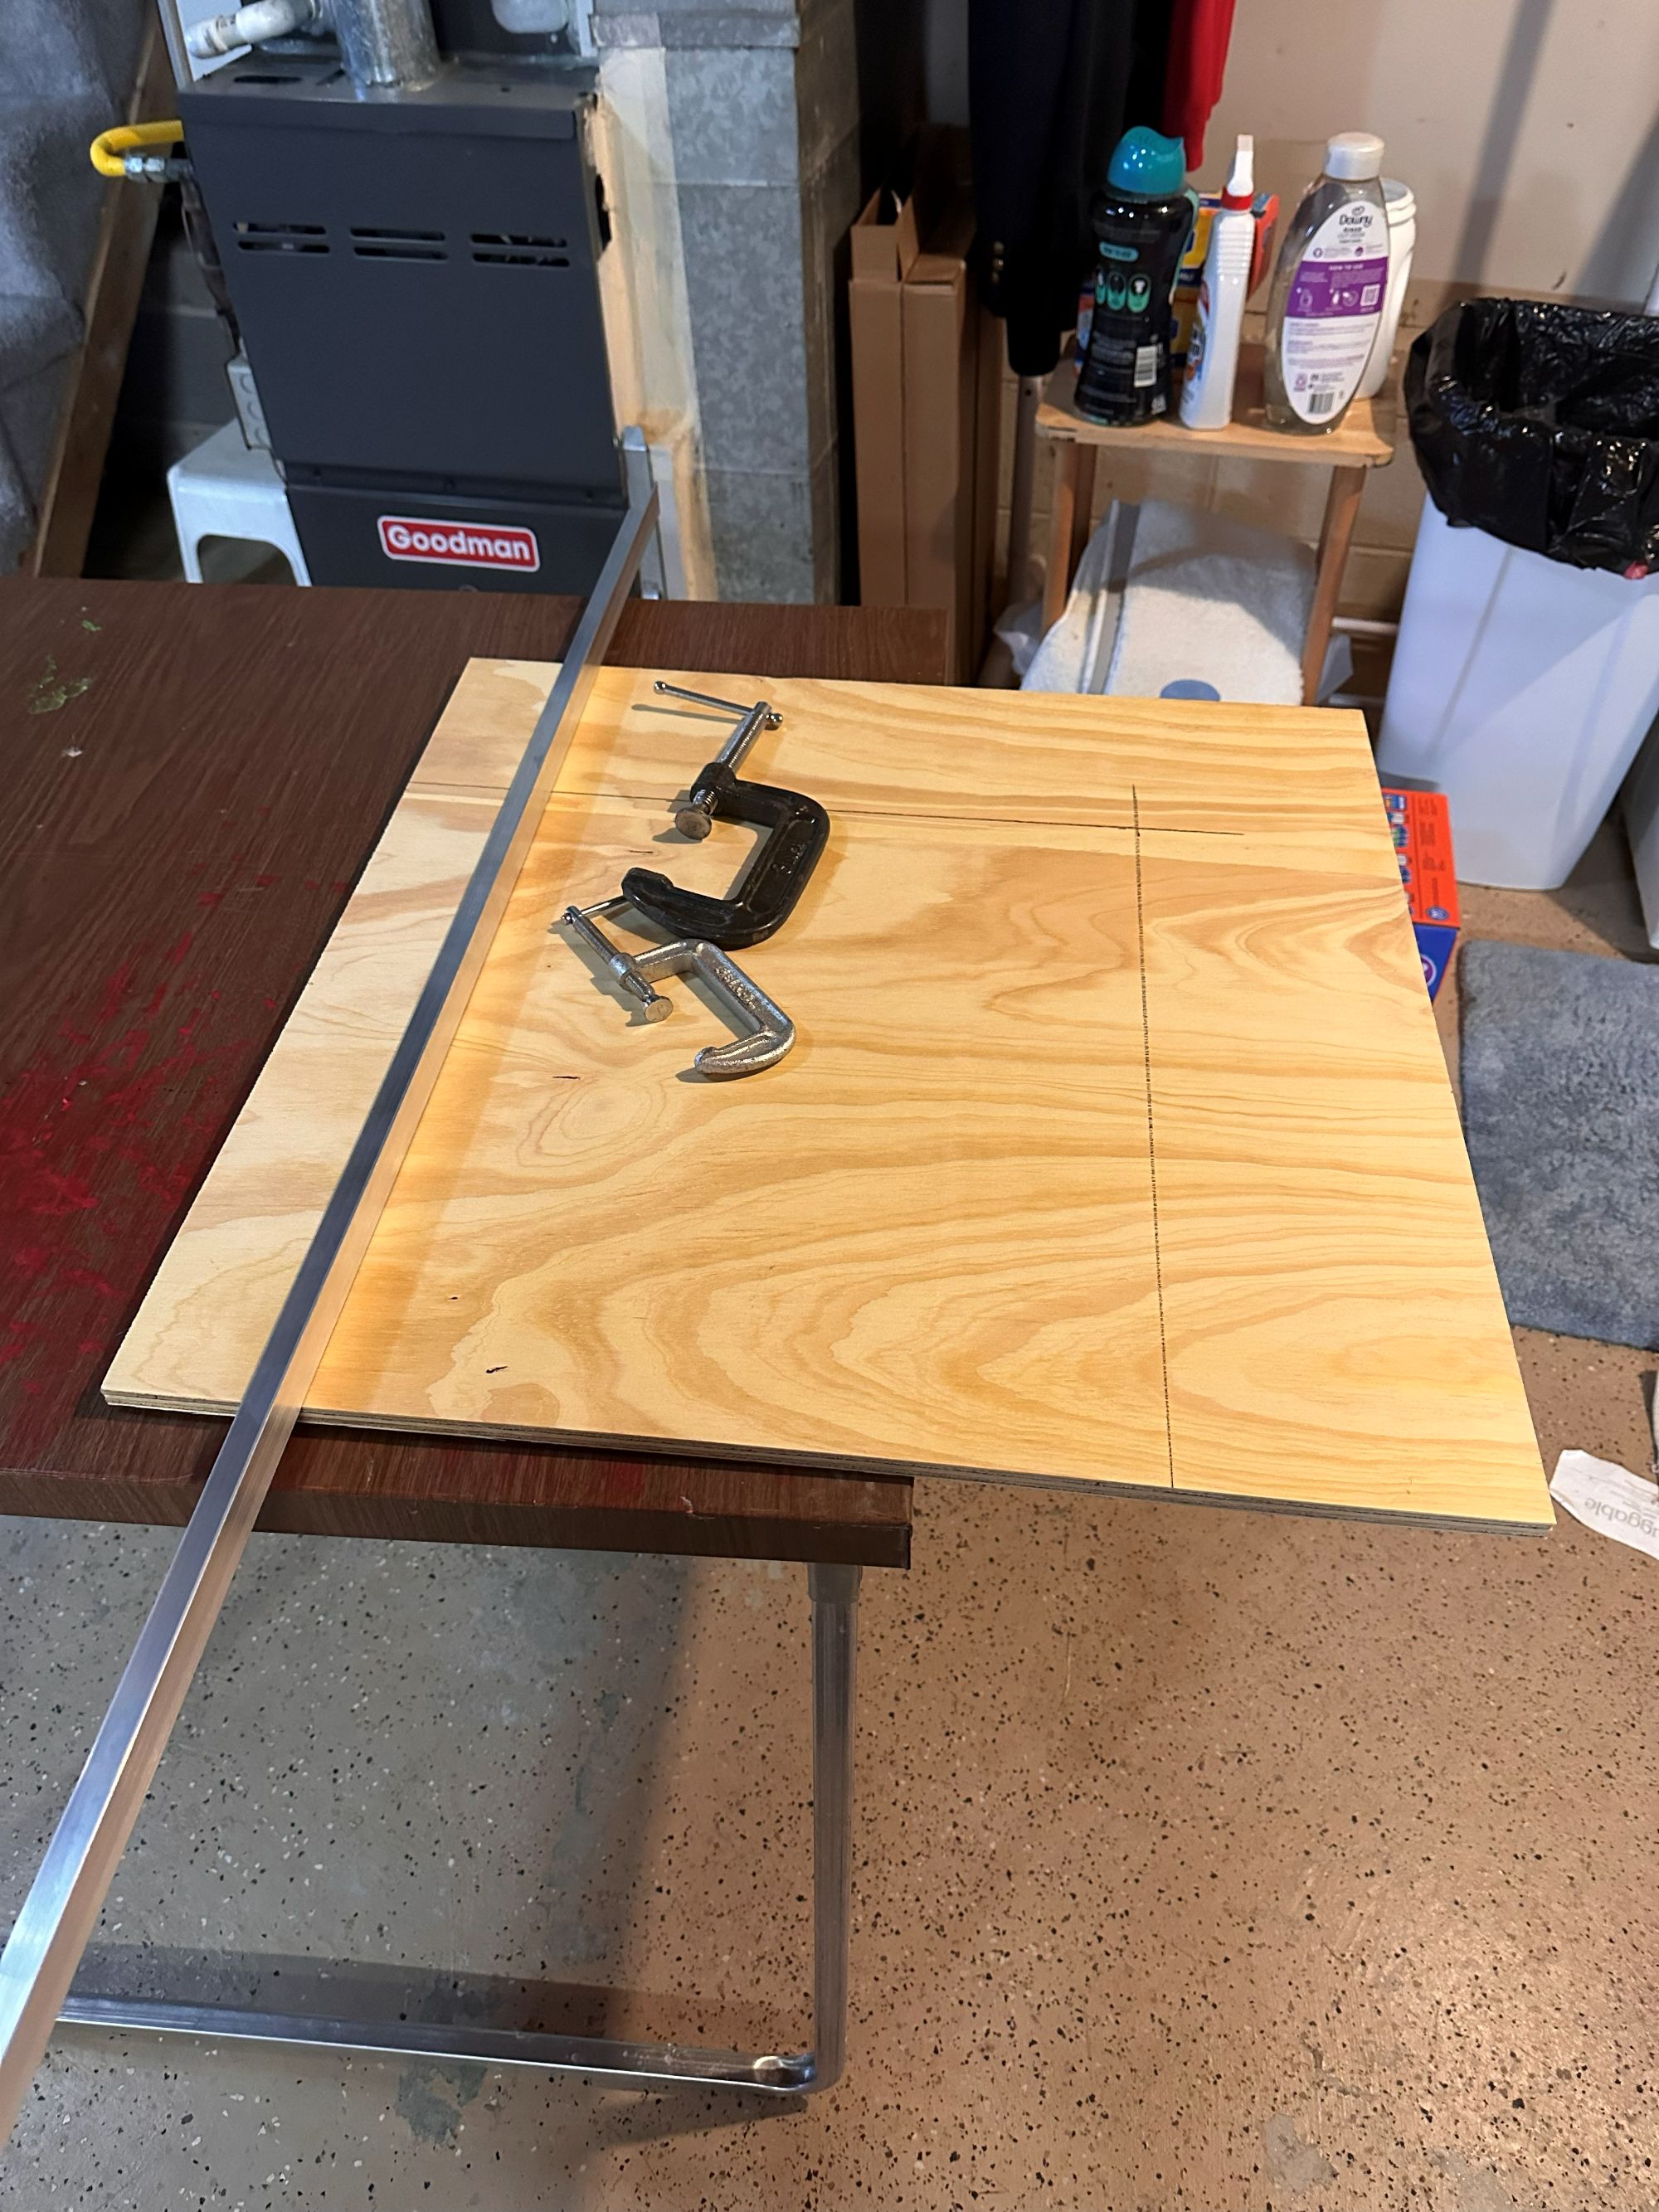
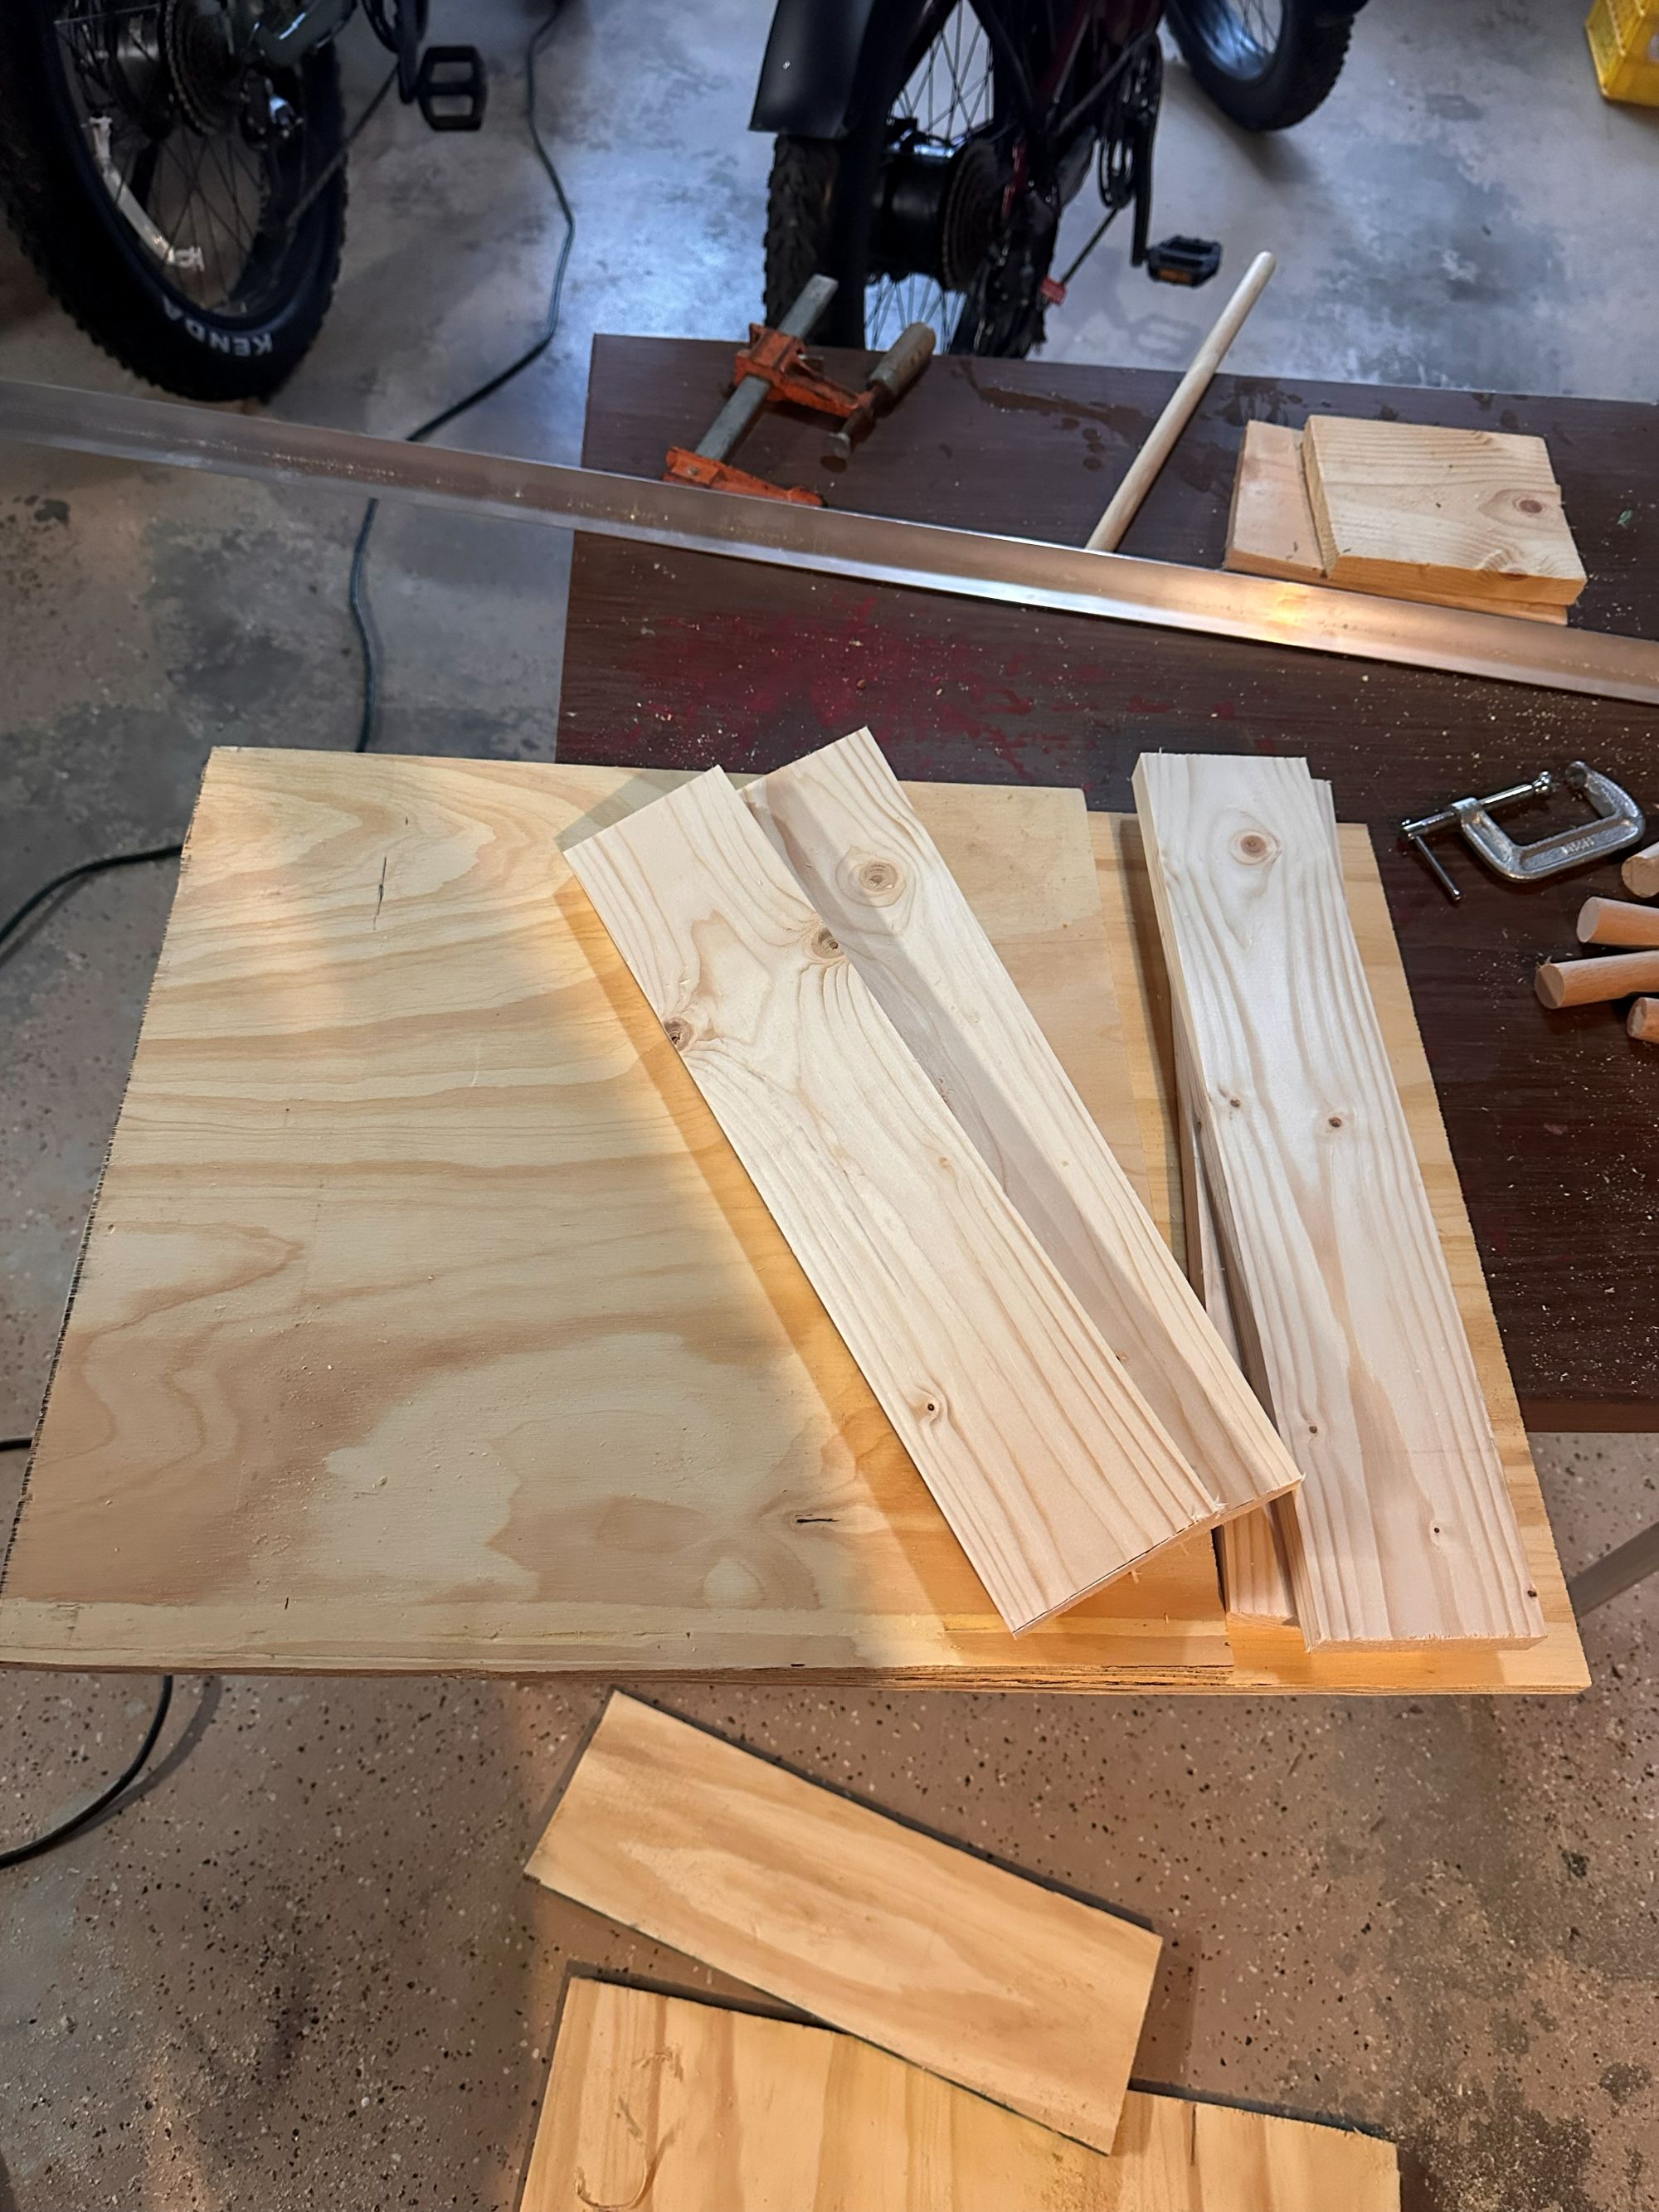
The first part of the build was the frame that holds the plastic sheet. It needs to clamp the plastic securely while still being easy to move from the heat source to the vacuum table.
The Vacuum Table
The vacuum table is basically a sealed box with a perforated top. A vacuum source connects to the box and pulls air through the holes.
When the softened plastic is placed over the mold, the air is pulled out from underneath it, forcing the plastic down tightly around the shape.
Heating the Plastic
This was one of the parts I wanted to keep simple. The plastic only needs to be heated evenly until it begins to sag and becomes flexible enough to form.
The important part is even heat. Hot spots can scorch the plastic while cooler areas stay too stiff.
First Test
The first real test was less about making a perfect part and more about answering the important question: does the machine actually work?
That first pull showed what needed improvement and also proved the basic design.
What I Learned
Like most shop projects, the first version teaches you what the second version should look like. Vacuum leaks, clamping pressure, heating time, and mold shape all matter more than they seem at first.
What Comes Next
The next step is to experiment with different plastics and make some actual useful parts. Robot shells and custom electronics covers are definitely high on the list.
This is exactly the kind of tool I like having in the NerdRoom: simple, repairable, and useful for projects that haven’t even been dreamed up yet.